
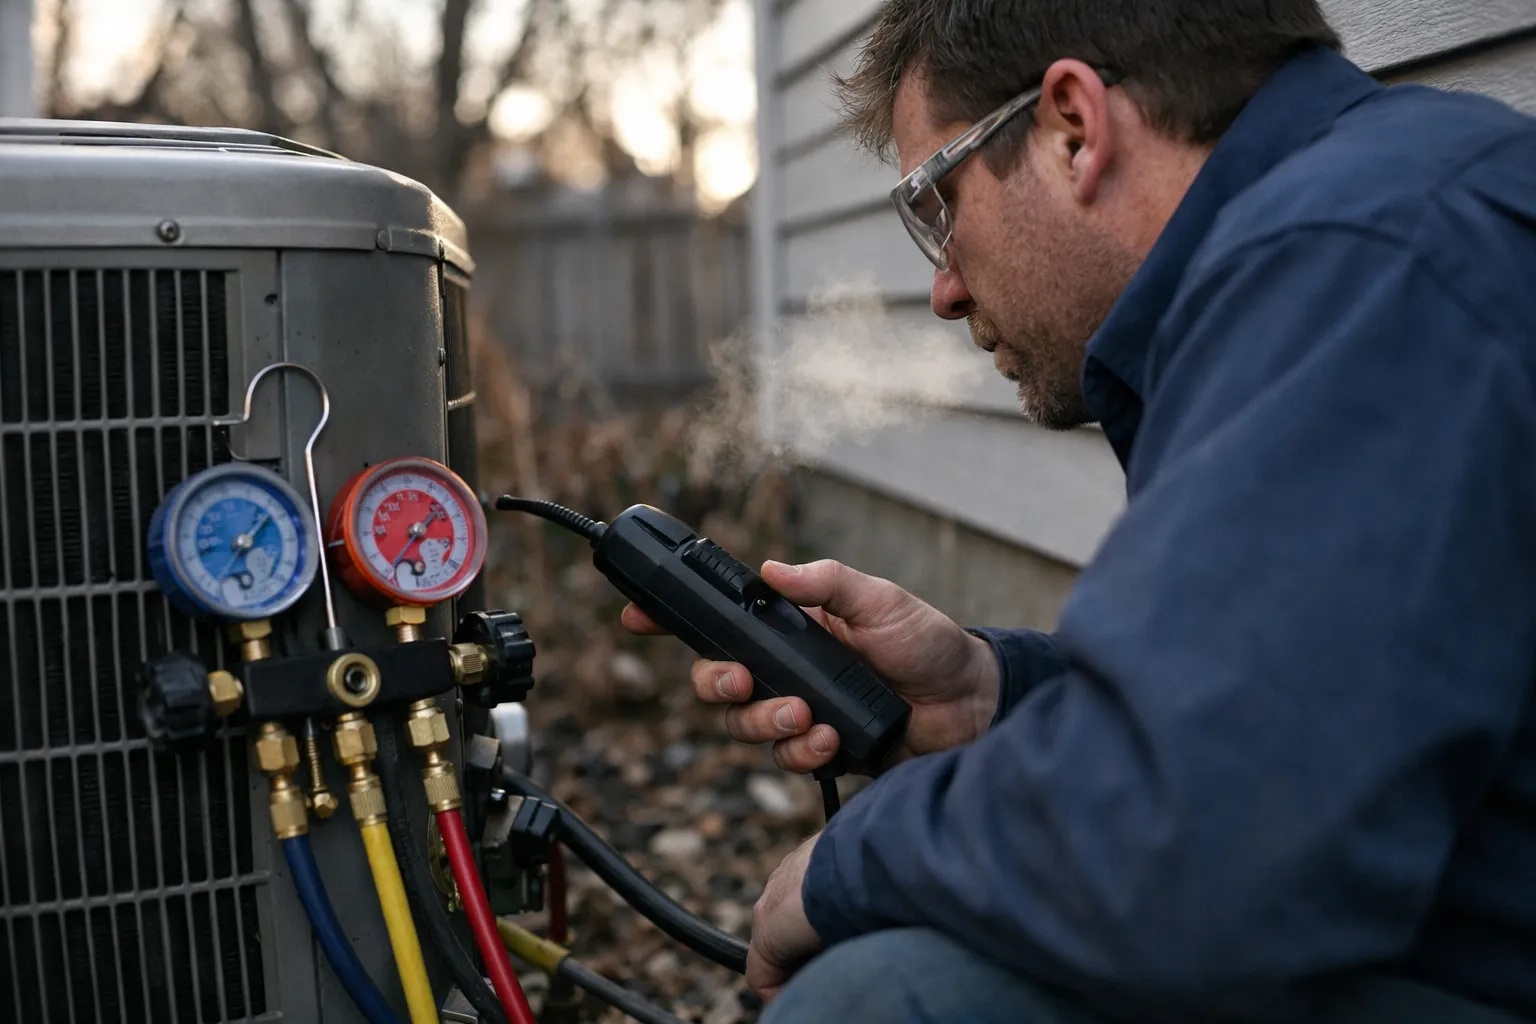
Who: HVAC technicians, shop owners and informed homeowners. What: an updated, field‑tested guide to nine subtle signs of refrigerant leaks, modern confirmation methods, and A2L-era cautions. When: August 2026. Where: residential split systems, ducted heat pumps, mini‑splits and light commercial installs across North America and similar markets. Why: ongoing HFC phasedown policies, wider adoption of mildly flammable A2L refrigerants (e.g., R‑32, R‑454B) and tighter manufacturer warranty requirements make correct diagnosis and documentation essential.
Context: Why this August 2026 update matters
The industry transition that began under the AIM Act and international emissions pressure has accelerated. Through 2025–mid‑2026, OEMs expanded A2L‑compatible product lines and service portals; service training and detector standards followed. The result: technicians now routinely encounter systems with different charge behavior, different safety protocols, and different warranty proof obligations than five years ago.
I learned to trust small sensory cues from my grandmother’s stove—an extra hiss, a faint aroma. Diagnosing refrigeration systems is the same skillset: small, repeatable changes are the earliest, most reliable alarms. But in 2026 those alarms must be investigated with A2L‑aware tools and documented so a repair stands up to warranty review or regulatory inspection.
Refrigerant Leak Myths That Still Cause Costly Mistakes
- “Refrigerant gets used up.” False. In a sealed system, low refrigerant means a leak until proven otherwise.
- “If it still cools, the leak isn’t serious.” Slow leaks shift oil balance and mass flow; systems often “limp along” and then cascade into compressor or metering failures.
- “Topping off is harmless.” In 2026, topping off can void warranties, mask progressive damage, and — with A2Ls — introduce safety and documentation obligations you can’t ignore.
9 “Small” Signs That Signal a Refrigerant Leak (Updated for August 2026)
- Run times creep longer under the same loads. A routine 12–15 minute cycle that steadily becomes 25–35 minutes is diagnostic gold. Don’t react to a single change — log cycles over several similar ambient conditions.
- Rooms feel clammy while supply‑air temps read normal. Loss of latent capacity often shows as humidity complaints before big temperature differences appear.
- Superheat/subcooling drift from the system baseline. One reading is noise; repeated departures at comparable outdoor temps indicate charge or metering issues.
- Changes in suction‑line “sweat” patterns. Look for consistent tactile or visual differences from established norms — not just “feels cold.”
- Outdoor condenser coil runs hotter for the same result. Hotter head pressures or a hotter coil plus extended run time = red flag.
- Heat‑pump defrosts behave oddly. Too‑frequent or incomplete defrost cycles can be charge‑related, not only controls or sensors.
- Intermittent low‑pressure trips that resolve temporarily. Marginal systems can pass in certain weather windows — don’t interpret temporary luck as closure.
- Oil staining or greasy halos around fittings. Refrigerant carries lubricating oil. Sticky grime or dirt “magnet” marks at joints frequently track slow leaks.
- Performance drops after recent service. Schrader cores, service valves and flare connections are common post‑service leak points — inspect the service footprint first.
Updated Confirmation Strategies for 2026
Tools and protocol must match the refrigerant and the service context. Here’s a prioritized workflow that reflects what I see in field techs’ vans this summer.
1) Baseline measurements first — don’t skip this step
- Document outdoor temp, indoor temp and RH, Delta‑T, pressures, superheat/subcooling, compressor amps, and run times with time‑stamped photos or digital logs before you change anything.
- Control airflow variables: dirty coils, clogged filters, and incorrect fan speeds will mimic low‑charge symptoms. Verify airflow before any refrigerant action.
2) Use detectors rated for the refrigerant in the unit
- Bubble solution remains the fastest confirm at a suspect joint.
- Discard halogen‑only “sniffer” pens on A2Ls. Use A2L‑rated electronic sensors or ultrasonic detectors; many manufacturers now publish compatible detector lists in their service bulletins.
- Newer service‑grade laser and TDLAS‑based detectors offer improved selectivity for refrigerant types; where available, they reduce false negatives on low‑concentration leaks.
- UV dye can be useful for stubborn, slow leaks but discuss downstream complications with the owner: dyes can complicate oil handling and warranty claims.
3) When stakes are high, go to gold‑standard tests
Pressure‑test with dry nitrogen to manufacturer‑recommended pressures, document soap tests with time‑stamped photos, and verify tightness with two independent detection methods. For major jobs or before recharging expensive reclaimed refrigerant, weigh in/out charge and evacuate to the manufacturer’s micron target (many residential systems still use 500 microns as a practical baseline; follow OEM documentation for exceptions).
Why “Topping Off” Costs More in 2026
- Supply and regulatory pressure: Ongoing phasedown policies and constrained reclaimed supply make repeated charges expensive and traceable.
- A2L safety and tooling: A2Ls demand calibrated detectors, ventilation assessment, and updated hot‑work protocols; failure to follow them can increase liability.
- Cascade failure risk: Continued operation at wrong charge accelerates oil migration and compressor stress; a marginal leak can morph into compressor and metering‑device replacement.
An 8‑Step Leak Plan You Can Use Today (Updated)
- Document performance: date/time photos of stats and ambient conditions before you touch the system.
- Rule out airflow and control faults: clean filters, verify coil cleanliness, and confirm fan/amp behavior.
- Inspect predictable leak points: service valves, Schrader cores, flares, coil U‑bends and line‑set chafe spots.
- Confirm with two independent methods (e.g., A2L‑rated sniffer + bubble solution at the same joint).
- Repair to a defendable standard: brazing, approved flares or swages per manufacturer — no temporary “tightening.” Use spark‑free tools when required.
- Evacuate to the OEM micron target; document with time‑stamped micron gauge logs.
- Weigh‑in charge per factory data, accounting for added line length and oil changes; keep weight records for warranty and compliance.
- Retest under stable load and compare to your documented baseline; capture photos and a short video of steady‑state operation.
Impact: Who this affects and what to watch for
Homeowners face higher repair and warranty friction if leaks are mishandled. Independent shops must invest in A2L training, A2L‑rated detectors and stronger documentation workflows to keep warranty work and limit liability. Manufacturers increasingly expect photo and digital logs for warranty approvals; insurers and local authorities are paying more attention to A2L handling and hot‑work permits.
Reactions from the Field (August 2026)
Service managers I spoke with in July 2026 — in Austin and Toronto — said A2L cases are "less forgiving" of lazy documentation. One independent shop reported that adding an A2L-rated sniffer, a micron‑logger and a digital weigh scale reduced rework calls by roughly half within three months because repairs were better scoped and proved.
What’s Next: Short timeline to watch (late‑2026 into 2027)
- Wider rollout of A2L‑specific detector standards and more service‑grade, selective sensors.
- Tighter OEM service portals that require photo‑verified procedure steps for warranty claims.
- More local code clarifications on ventilation and hot‑work near mildly flammable refrigerants.
Frequently asked questions
Can I safely “top off” a low‑charged system to buy time?
Not as a long‑term fix. Topping off masks the root cause, risks oil/moisture problems and can void warranty or complicate future repairs—especially with A2Ls. If you must top off as a documented temporary measure, set a clear timeline to locate and repair the leak and keep weigh‑in/out records.
Which leak detector should I use for A2L refrigerants?
Use detectors specifically rated for A2Ls or ultrasonic detectors that pick up the sound of escaping gas. Many legacy halogen sniffers miss A2Ls. If available, TDLAS‑based or other selective laser sensors offer higher sensitivity and fewer false negatives for faint leaks.
How low should I evacuate after a repair?
Follow the equipment manufacturer. Many residential systems use 500 microns as a practical target, but OEMs may require lower values or staged dehydration. Document the micron reading and the hold time you used.
Should I use UV dye on a system with POE oil?
Use caution. UV dye helps locate very slow leaks but can interact with POE oils and complicate later servicing and oil reclamation. Get owner consent and only use dye when you understand the downstream consequences.
When is nitrogen pressure testing appropriate?
Pressure test with dry nitrogen when you cannot replicate a leak with sniffers, before major component replacement, or when recharging would be costly. Pressurize to the manufacturer‑recommended level, then soap‑test suspect joints while isolated.
Small clues are easier to miss than a blown compressor. Measure, confirm twice with appropriate A2L tools, repair to standard, and document everything. Treat refrigerant like an ingredient — precise, documented, and respected — and you’ll avoid expensive surprises.