
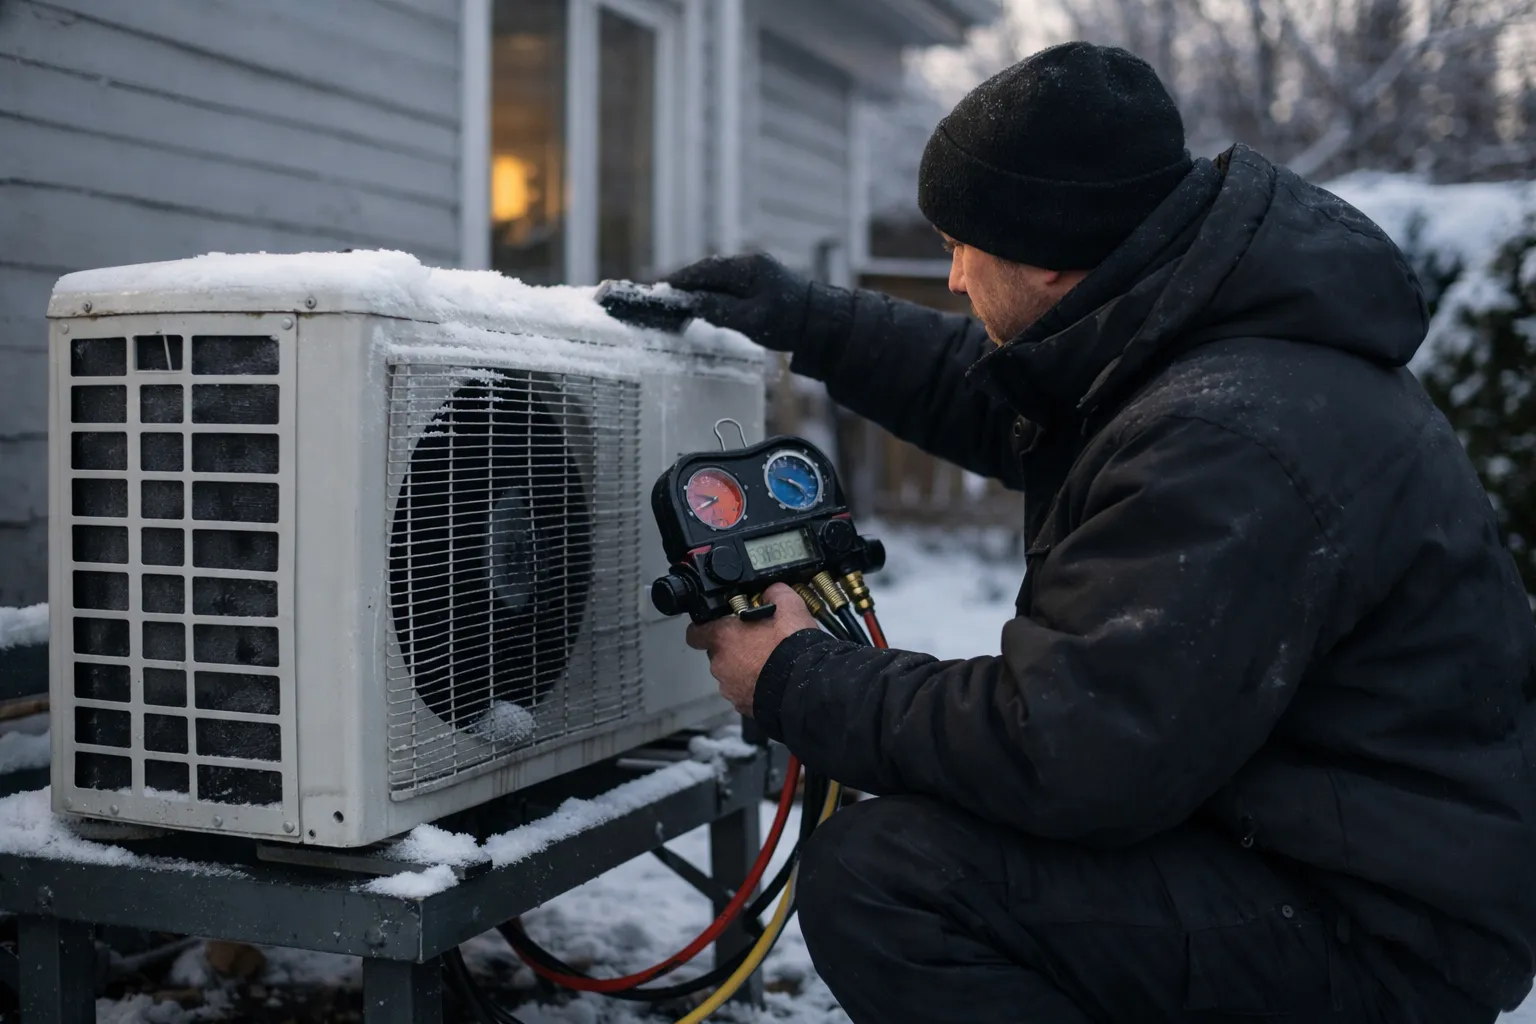
What you'll learn: how to choose a cold‑climate heat pump that reliably carries your winter load in June 2026 — using verifiable specs, commissioning discipline, and pragmatic design choices rather than marketing language. This article is for HVAC enthusiasts, specifying contractors, and technically minded homeowners who demand documented performance, elegant operation, and low intervention in winter.
Why this matters now: since early 2024 the market has moved from “promising” to “measurable.” Manufacturers now routinely publish extended performance tables, lower‑GWP refrigerants have become mainstream across many product lines, and firmware/commissioning are recognized as operational components, not afterthoughts. Meanwhile, utility pilots and incentive programs have expanded smart controls and grid‑interactive options — all of which change how you should evaluate a cold‑climate system.
Prerequisites and context: what “cold‑climate” means in mid‑2026
“Cold‑climate heat pump” remains an industry shorthand, not a regulated product class. Practically, it means inverter‑driven air‑source equipment engineered to retain useful heating capacity at low outdoor temperatures. By mid‑2026 it is straightforward to obtain capacity and COP tables that extend down through single‑digit and sub‑zero Fahrenheit points for matched outdoor/indoor combinations — which makes spec verification a solvable problem.
Two context points to keep front of mind:
- HSPF2 and SEER2 remain the standard metrics in the U.S.; do not compare legacy HSPF/SEER figures to the “2” versions without conversion.
- Incentives and program lists still influence inventory and cost. Federal, state, and utility programs continue to shape which models are stocked and supported locally. Always confirm eligibility against the current product lists for the program you’ll use.
Luxury note: the hallmark of a premium cold‑climate installation is invisibility: consistent indoor temperatures, quiet operation, and a system that rarely needs occupant adjustments.
Step 1: Start with your design temperatures — not marketing copy
- Find your official winter design temperature. Use ASHRAE/ACCA data via a Manual J tool. Many load reports use the 99% design temperature (outdoor temp colder only ~1% of hours); that remains the appropriate baseline for “no‑resistance” sizing.
- Set a realistic no‑resistance target. Choose the outdoor temperature at which the heat pump is expected to meet full load without auxiliary resistance. In classic cold climates this is the local 99% temperature; in milder climates you might accept a lower threshold and plan for limited backup.
Example: if your 99% design temp is 5°F, specify a system whose certified net heating capacity at 5°F equals or slightly exceeds the Manual J load, after accounting for duct or distribution losses.
Step 2: Obtain a true heating load (Manual J) and verify inputs
Sizing is still the decisive first step; variable‑speed equipment changes the rules but not the math.
- Commission a full Manual J. The report must include wall/R‑value assumptions, window U‑factors, infiltration (ACH), internal gains, thermostat setpoints, and the chosen design temperature.
- Sanity‑check envelope and infiltration inputs. Over‑assumed losses lead to oversizing; underspecified losses lead to undersized equipment and comfort problems. Compare the Manual J assumptions to recent blower‑door or IR results if available.
- Cross‑check against energy history. Convert winter utility bills into delivered heat (kWh or therms) and compare to the Manual J estimate to catch large discrepancies before equipment selection.
Why this matters: inverter systems modulate — oversizing commonly increases defrost frequency and reduces part‑load efficiency. The objective is a match between the design load and the heat pump’s performance curve, not a larger nameplate.
Step 3: Verify low‑temperature capacity from independent sources
By 2026 most reputable manufacturers publish extended capacity/COP tables for matched outdoor‑indoor pairings. Use third‑party directories and AHRI references where possible.
- Use third‑party directories and AHRI listings. These remain the most reliable cross‑checks for certified matched combinations and low‑temperature capacity points.
- Obtain the exact matched combination’s data. Performance depends on the outdoor unit plus the specific indoor coil or air handler. Request the AHRI reference number and the extended capacity/COP table for the pairing.
- Confirm capacity at your design temp. Look for certified net heating capacity at 47°F, 17°F, and at your design temperature. Use COP at each point to estimate operating cost and expected auxiliary use.
What to look for: capacity retention (percent of rated capacity at your design temp), modulation range (min–max), and whether the data are measured or manufacturer‑modeled with third‑party validation.
Step 4: Compare efficiency the right way—HSPF2, COP, and part‑load behavior
HSPF2 is useful for seasonal comparisons, but COP and part‑load curves reveal winter behavior.
- Use HSPF2 for apples‑to‑apples seasonal comparison across similar architectures (ducted vs ductless).
- Demand COP at specific low temps. Ask for COP at 47°F, 17°F, and your design temperature. COP indicates instantaneous efficiency during cold spells.
- Prioritize part‑load control and minimum capacity. Inverter systems earn efficiency by cruising at low speeds; examine minimum capacity and whether the unit can modulate in the range your Manual J indicates for most winter hours.
Rule of thumb: systems whose capacity curve keeps them within ~40–100% of output for the majority of winter hours at your design temp tend to deliver the smoothest indoor temperatures and the fewest defrost cycles.
Step 5: Scrutinize defrost logic, controls, and low‑temp comfort
Defrost strategy is the lived experience. A technically excellent defrost sequence preserves indoor comfort and minimizes auxiliary use.
- Ask for the manufacturer’s defrost flowchart. Demand/sensor‑based defrost (compressor head pressure, outdoor coil sensors, or demand algorithms) outperforms fixed timers.
- Understand indoor behavior during defrost. Verify whether the indoor fan continues, whether the system uses auxiliary heat for recovery, and typical defrost duration and recovery profiles.
- Plan outdoor unit siting carefully. Elevate units above expected snow/drift levels, maintain clear airflow, and ensure melt water drains away from the base to avoid refreeze.
Practical commissioning: require the installer to demonstrate a controlled defrost event or to show recorded defrost logs from the initial commissioning period so you can observe indoor recovery behavior.
Step 6: Ducted, ductless, or hybrid—decide by building architecture
Choose distribution by constraints and performance, not aesthetics alone.
- Ducted gives seamless distribution where ducts are properly sized, sealed, and insulated. At commissioning, verify static pressure and measured airflow at supply grilles.
- Ductless provides precise zoning and high turn‑down ratios; it’s often preferable in retrofit work or where ducts are a constraint.
- Hybrid pairings (ducted main system with ductless zones) are increasingly common and effective when tailored to the building’s use patterns.
Test: if existing ducts show static pressure >3.0 in. w.c., or are >15 years old with unknown sealing, treat them as a risk factor and budget for duct remediation or a hybrid approach.
Step 7: Plan backup heat intentionally and avoid waste
Backup is a design tool. The goal is rare, controlled invocation.
- Choose backup by economics and operational preference. Electric resistance is simple and reliable but costly per kWh; dual‑fuel (e.g., gas or propane) remains an option where fuel economics justify complexity.
- Set precise lockouts and staging. Use outdoor temperature lockouts and staged control so the heat pump stages up before auxiliary heat engages.
- Verify thermostat wiring and logic. Miswired controls or default thermostat settings cause unnecessary strip heat. Require a wiring diagram and commissioning verification.
Rule: set auxiliary lockout conservatively, test in real cold, and review controller logs after the first cold snaps to confirm limited auxiliary events.
Step 8: Treat contractor selection like commissioning a precision instrument
Installation quality is the decisive variable. Expect commissioning paperwork and demonstrable data.
- Require documented commissioning. Refrigerant charge verified to specification, measured airflow, static pressure, thermostat configuration, and recorded control settings should all be in a signed commissioning report.
- Confirm AHRI‑matched installation. The installed indoor/outdoor combination should match the AHRI or manufacturer reference used for capacity verification.
- Demand early‑season performance logs. Contractors who collect runtime, defrost events, and setback recovery in the first months deliver real value and make troubleshooting straightforward.
- Clarify warranty and firmware policies. Ask who controls firmware updates, whether the owner must authorize updates, and how rollback is handled if an update affects performance.
Practical expectation: a quality installer will hand you a commissioning packet that includes measured refrigerant pressures, airflow numbers, thermostat settings, AHRI reference numbers, and an initial monitoring export.
New 2026 considerations that change selection
- Lower‑GWP refrigerants are common. Models with R‑32 and R‑454B (or other lower‑GWP blends) are widespread in new product lines; ask which refrigerant is in the unit, and whether service parts and trained technicians are available locally.
- Firmware and remote diagnostics matter. From 2024–2026 manufacturers pushed more control logic into firmware. Confirm update policies and insist on documented baseline firmware versions at commissioning.
- Grid‑interactive features are practical options. Many utilities now run pilots for demand response and time‑of‑use programs; heat pumps supporting smart preconditioning, thermal storage, or simple DR modes can generate recurring value.
- Buffer tanks and thermal storage are more common in cold climates. For ducted hydronic hybrids or very cold design temps, adding a small buffer tank reduces short cycling and smooths defrost cycles — particularly on lower‑GWP systems with tighter charge management.
- Remote monitoring is expected. Manufacturer or contractor dashboards that report runtime, defrost frequency, and auxiliary events should be part of the deliverable for higher‑end projects.
Common mistakes to avoid
- Buying on nominal tonnage without verified capacity at your design temperature.
- Mixing HSPF and HSPF2 (or SEER and SEER2) in comparisons.
- Overlooking duct static pressure and airflow constraints.
- Allowing auxiliary heat to trigger above intended lockout thresholds because of default wiring or thermostat behavior.
- Assuming “cold‑climate” marketing replaces AHRI‑matched capacity tables and commissioning data.
Pro tips (the enthusiast edition)
- Ask for the table, not the brochure. Request extended capacity/COP charts for the exact matched pairing and the AHRI reference number.
- Document refrigerant specifics and service readiness. Know the refrigerant type, service port locations, and local tech training; low‑GWP is good policy only when the supply chain supports it.
- Insist on initial remote monitoring. A 90‑day remote‑monitoring period after commissioning catches control drift and unnecessary auxiliary use early.
- Consider simple thermal buffering. A small 10–20 gallon buffer or an insulated plenum for large ducted systems reduces short cycling and makes defrosts less invasive.
- Keep firmware records. Store firmware version numbers, commissioning logs, and thermostat snapshots — these reduce finger‑pointing if performance questions arise.
FAQ
How can I tell if a heat pump will actually heat my house at 5°F?
Obtain a Manual J sized to your 5°F (or local 99% design) temperature. Then request the certified net heating capacity for the exact outdoor/indoor combination at that temperature (AHRI listing or equivalent). Cross‑check the COP at that point to estimate operating cost and expected auxiliary use; if the certified net capacity meets or slightly exceeds the Manual J load, the unit can carry the home at that temperature without resistance heat.
Should I worry about firmware and remote updates?
Yes. By 2026 many manufacturers deliver functional improvements via firmware: defrost sequencing, modulation control, and grid features are commonly updated firmware items. At commissioning, record the installed firmware versions, ask about the update policy, and require owner consent for changes that affect control logic.
Are low‑GWP refrigerants ready for cold‑climate systems?
Many modern cold‑climate lines use lower‑GWP blends such as R‑32 or R‑454B. They perform well when installed and serviced correctly, but confirm local service capability and parts availability first — regulatory pressure is accelerating adoption, but practical service readiness is the limiting factor in some regions.
Will adding a larger heat pump eliminate the need for backup heat?
Not necessarily. Oversizing can increase defrost frequency, worsen part‑load efficiency, and still require auxiliary heat depending on thermostat logic. The objective is a match between the calculated design load and certified low‑temperature capacity, not a larger nameplate.
How should I verify an install once it’s complete?
Require a commissioning packet that includes: measured refrigerant pressures or verified charge method, documented airflow and static pressure (for ducted systems), thermostat wiring and configuration screenshots, the AHRI reference for the matched pair, initial runtime and defrost logs, and the baseline firmware version. Ask for a guided walkthrough of the monitoring dashboard or app.
Sources and reference types: This guide synthesizes industry practice and practical field experience: AHRI certified directories for matched combinations, NEEP and other cold‑climate lists for low‑temperature performance references, ACCA Manual J methodology for sizing, and installers’ commissioning practice for operational verification. For incentives and program details, always verify current federal, state and utility product eligibility pages before purchase or application.