
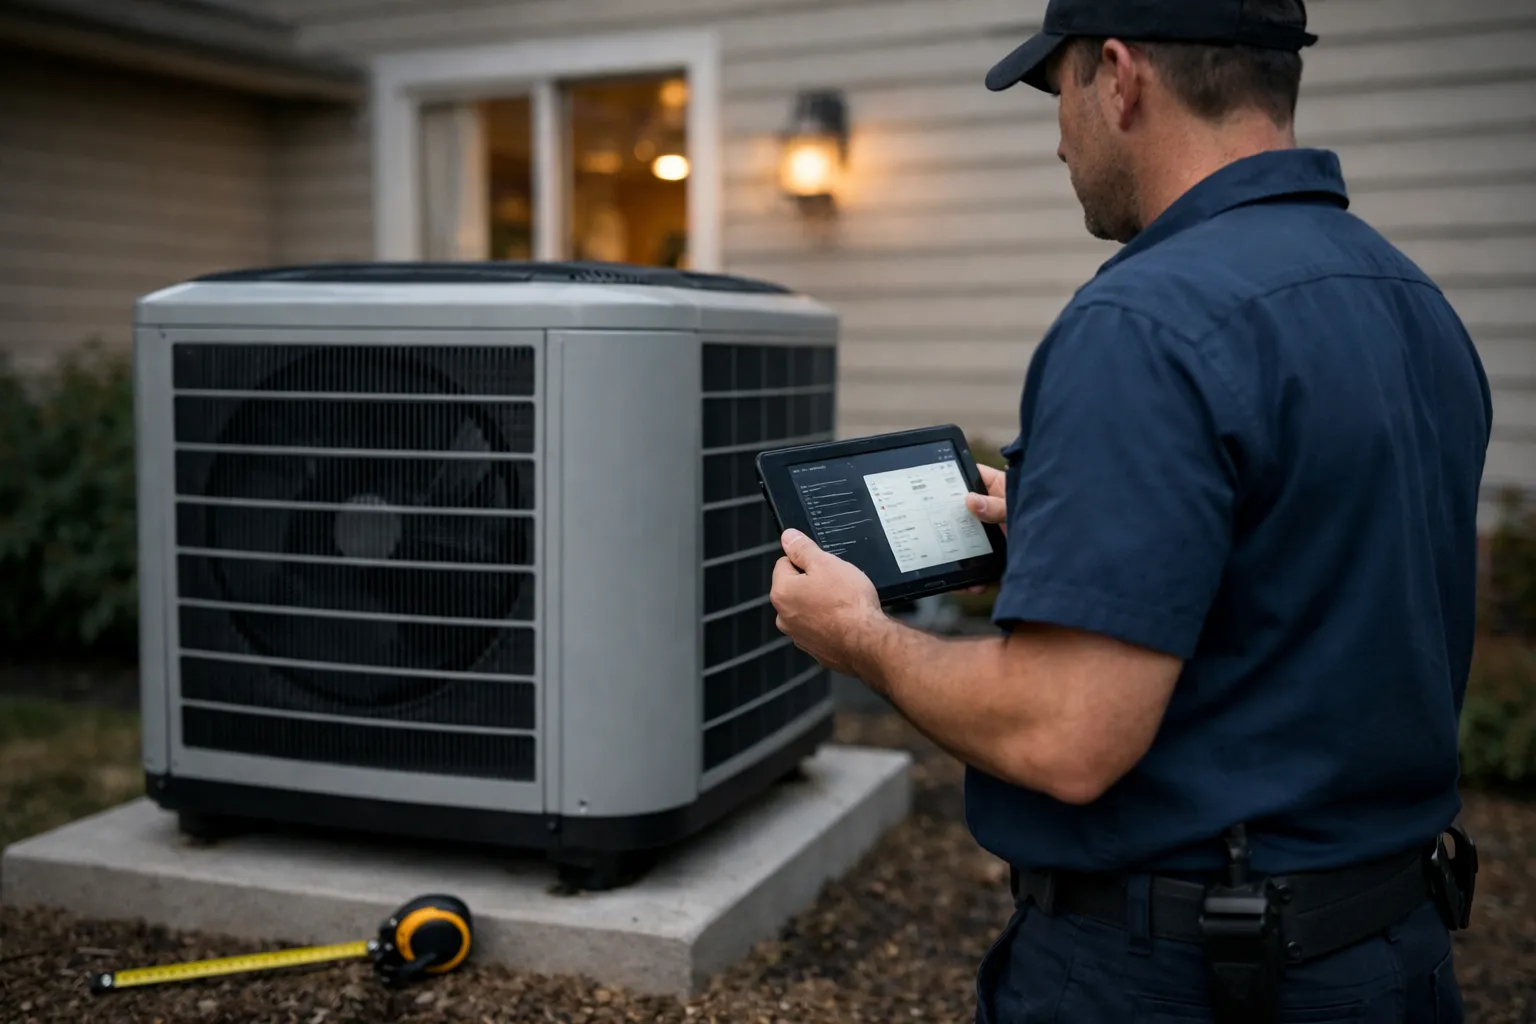
Introduction: What you’ll learn and why this matters
Quiet mode remains the single most accessible control-based tool for reducing outdoor heat pump noise—but in June 2026 the context has changed. Variable‑speed inverters, over‑the‑air (OTA) firmware updates, improved consumer spectral diagnostics, and a maturing market for engineered acoustic screens mean owners can now achieve quieter operation without guessing. This guide is for HVAC-savvy homeowners, installers, and system tinkerers who want repeatable, measurable noise reduction without compromising capacity, efficiency, or warranty coverage. You’ll learn how to identify the true noise source, apply modern quiet‑mode settings correctly, combine control and acoustic strategies, and document results so you can demonstrate compliance to an HOA or municipal inspector.
Prerequisites / Context: What to know before you touch settings
- Quiet mode is a capacity trade-off. It limits compressor frequency and fan RPM. In temperate conditions that trade-off is often invisible; near design load it increases run time and can affect defrost behavior or staging thresholds.
- Noise is diagnostic data. Tonal whine, broadband air roar, mechanical buzzes and refrigerant whoosh point to different fixes—controls, airflow, or vibration isolation. New consumer spectral displays (1/3‑octave) make this easier to see, but they don’t replace basic listening and mechanical inspection.
- 2026 tech snapshot: By mid‑2026 most new inverter-driven residential heat pumps ship with OTA-capable controllers, multi‑level quiet modes, and optional tonal‑mitigation algorithms. Several OEMs deployed phased‑PWM and randomized switching techniques in firmware updates to reduce persistent harmonic peaks. Pilot active‑noise cancellation (ANC) systems exist, but remain niche and situational.
- Regulatory and neighborhood context: Municipalities and HOAs are increasingly demanding documented sound levels for new installations or disputes. Many local nighttime limits cluster in the mid‑40s to mid‑50s dB(A) at the property line; if you must meet a specific level, use repeatable measurements and a calibrated instrument (ANSI/IEC standards apply).
- Safety and warranty: Never modify refrigerant charge, alter fan blades, or create enclosures that violate clearance rules. Quiet mode tuning is manufacturer‑supported; improvised foam wraps or obstructive blankets commonly harm performance and can void warranties.
Tools that help (strongly recommended): a calibrated Type 2 sound‑level meter (ANSI S1.4 or IEC 61672 equivalent) with 1/3‑octave capability, smartphone spectral app for trend spotting, tape measure, and access to thermostat installer menus or the outdoor‑unit control panel. A simple spreadsheet for logs makes comparisons defensible.
Step 1: Confirm what’s actually making the noise
Owners frequently blame the condenser when the real source is a duct whistle, attic resonance, or a lineset rubbing siding. Proper diagnosis saves time and money.
- Listen in three repeatable locations:
- 3–6 ft from the outdoor unit, toward the discharge side.
- At the nearest bedroom window or inside the primary living space where complaints originate.
- At the property line or neighbor’s fence—the practical point of impact for ordinances and complaints.
- Identify the sound signature:
- Tonal whine—a narrowband harmonic peak, often inverter or PWM fan related; firmware and control changes reduce this more reliably than acoustic barriers.
- Broadband air roar—energy spread across frequencies from turbulent flow or coil reflections; requires physical fixes: clearance, coil condition, grille geometry or screens designed for airflow.
- Rattle/buzz—mechanical connection issues: loose panels, base movement, or lineset contact.
- Transient whoosh/gurgle—refrigerant flow and defrost transitions; expected during modulation or defrost and partially mitigable by control tuning.
- Log conditions: record outdoor temperature, wind speed/direction, unit mode, defrost state, and whether auxiliary heat is active. Repeatability is how you prove improvements.
Why this matters: quiet mode reduces steady operating noise. If the issue is intermittent vibration or an indoor duct whistle, control changes won’t fix it.
Step 2: Verify placement, mounting, and reflective surfaces
High-end projects plan for acoustics from day one. You can recreate that effect at home by addressing reflections and vibration paths.
- Confirm clearances per the installation manual. Rear and side clearance prevents recirculation that forces the fan to work harder and increases noise. The manual is the controlling document for performance and warranty.
- Check for reflective “sound mirrors.” A unit mounted facing a masonry wall, fence, or under a deck redirects discharge energy back into listening points and can raise perceived levels several dB. Shifting the unit 1–2 meters or angling discharge often produces measurable benefit.
- Inspect mounting:
- Pad: ensure it’s level and isolated—rubber anti‑vibration mounts or neoprene pads sized to the unit weight reduce structure‑borne noise.
- Wall brackets: confirm rubber bushings and isolation hardware; avoid direct metal‑to‑wood contact.
- Lineset routing: clip with rubber‑lined saddles; eliminate contact with siding, gutters, or deck framing.
Why this matters: fix acoustics first; quiet mode becomes a fine‑tuning step rather than a band‑aid.
Step 3: Prevent loud cycling and control instability
Nighttime complaints commonly stem from control strategies: large setbacks, oversized equipment cycling, or abrupt staging that forces noisy recovery ramps.
- Audit thermostat setbacks and recovery behavior. Substantial overnight setbacks (≥6°F/3–4°C) trigger high‑capacity recovery. In 2026 best practice is smaller setbacks (2–3°F/1–1.5°C) or using preconditioning immediately before quiet hours.
- Review staging and auxiliary heat logic. Dual‑fuel setups and electric backup can cause audible transitions. Confirm changeover thresholds and minimum run times in the installer menu to avoid frequent stage switching.
- Use smart scheduling deliberately. Modern thermostats can schedule quiet windows and integrate weather predictions or utility TOU signals. Configure quiet windows when the system can sustain operation at low‑mid capacity, and reserve full capacity for daytime recovery or extreme weather.
Why this matters: quiet mode works best when the system can run steadily. Frequent starts and stops produce the loudest moments.
Step 4: Configure quiet mode correctly—and test it
Quiet modes differ by manufacturer. The workflow below is brand‑agnostic and focused on repeatability and measurement.
- Access the control path.
- Use consumer apps for scheduling and basic quiet modes.
- Use the thermostat installer menu or outdoor‑unit service menu for deeper limits and minimum runtime parameters.
- Prefer scheduled quiet windows over “always‑on.”
- Example night window: 10:00 p.m.–7:00 a.m.—customize to household routines.
- Reserve full capacity for daytime recovery windows or extreme conditions.
- Start at the mildest quiet level. If levels are 1–3, begin at Level 1; evaluate comfort and run times before deeper reductions.
- Run a controlled A/B test:
- Choose a calm night with light wind and stable temperature.
- Measure baseline and quiet‑mode sound at identical positions (3–6 ft at unit, the bedroom, and property line) using the same meter and settings.
- Log run time, indoor setpoint drift, compressor frequency, and any defrost events.
- Adjust from the data. If indoor drift exceeds comfort targets or defrost recovery lengthens materially, shorten the quiet window or step up the quiet level.
Why this matters: quiet mode is a capacity vs. noise balance. Measured tests let you choose the point on that curve that suits your household.
Step 5: Improve airflow so the fan isn’t fighting the environment
Airflow restrictions are the most common physical cause of harsh outdoor fan noise.
- Keep the area clear. Remove leaves, mulch, or debris that can obstruct intake or discharge. In 2026, many manufacturers add built‑in debris guards—inspect and maintain them.
- Manage snow and standing water. Repeated freeze–thaw cycles can create slush dams. Keep drain paths clear and consider elevating the unit on manufacturer‑approved stands in flood/snow‑prone locations.
- Reduce recirculation. If discharge is pulled back by nearby walls, add distance or install engineered acoustic screens that preserve required clearances and airflow; choose products with manufacturer or installer certifications to avoid warranty issues.
Why this matters: lowering RPM won’t help if the fan still creates turbulent flow against a reflective surface.
Step 6: Attack vibration with targeted, service‑first fixes
Rattles and buzzes are typically mechanical and respond to straightforward repairs.
- Tighten and torque external fasteners to manufacturer specs; check grille, service panels, mounting bolts, and compressor mounts.
- Install proper isolation:
- Outdoor‑rated vibration pads sized to the installed unit load.
- Rubber‑lined clips and saddles for linesets and conduit; avoid zip‑ties that permit chafing.
- Avoid DIY enclosures. Engineered acoustic fences and louver systems work when designed to preserve airflow and clearance; use certified products or acoustic contractors who provide airflow validation and warranty‑safe installation notes.
Why this matters: correct isolation and clean airflow preserve both quiet and system longevity—an invisible fix that pays dividends.
Modern options and 2026 updates worth knowing
- Firmware tonal mitigation: Mid‑2024 through 2026 saw many OEMs push randomized PWM and phase‑spreading techniques via OTA updates; installers report reduced narrowband tonal peaks on affected units. These features help tonal whine more than broadband air noise.
- Engineered acoustic screens: The market has moved from ad‑hoc fencing to screens tested for airflow and validated by manufacturers. When specified and installed per OEM guidance, these screens reduce perceived levels while preserving performance.
- Smart integration and grid signals: Thermostats now coordinate quiet windows with TOU pricing and utility demand‑response, allowing households to avoid noisy recoveries during on‑peak hours with informed preconditioning strategies.
- Consumer spectral tools: Several meter apps and entry‑level SLMs now offer 1/3‑octave displays enabling homeowners to distinguish tonal vs broadband problems before calling a technician.
- Pilot ANC systems: Active noise cancellation for outdoor units exists in pilot and commercial niche products. ANC can be effective for narrowband tonal components under calm outdoor conditions but is not a panacea for broadband fan noise or mechanical vibration.
Common mistakes that make quiet mode ineffective
- Expecting quiet mode to mask structural vibration, duct whine, or mechanical defects.
- Leaving quiet mode enabled during extreme cold when maximum capacity is needed—this lengthens defrost recovery and can produce audible transitions.
- Using smartphone apps alone for regulatory compliance—use a calibrated meter for official measurements.
- Installing a unit in an acoustic “corner” without mitigation; cheap enclosures that restrict airflow make noise and shorten equipment life.
Pro tips for achieving quieter operation without sacrificing comfort
- Prioritize steady‑state operation. Smaller setpoint changes and longer, lower‑capacity runs reduce ramping and abrupt transitions.
- Precondition before quiet hours. Use the thermostat schedule to bring rooms near setpoint just before the night window to minimize recovery noise.
- Document repeatable measurements. Use the same meter position, meter settings, and weather conditions. A simple before/after spreadsheet is persuasive to neighbors, HOAs, and contractors.
- Use manufacturer‑approved accessories. Acoustic louvers and screened enclosures with OEM validation preserve airflow and warranty coverage.
- Escalate when necessary. Persistent tonal peaks that survive firmware updates, or new grinding/scraping sounds, require a licensed technician—don’t defer mechanical diagnosis.
Common mistakes reiterated
- Confusing indoor HVAC noise with outdoor condenser noise.
- Relying on quiet mode “always on” without measuring comfort and defrost impacts.
- Assuming a visible reduction at the unit equals compliance at the property line—always measure where it matters.
FAQ
Does quiet mode reduce efficiency?
Yes. Quiet mode limits maximum compressor and fan speeds, which reduces peak capacity and—under high load—increases run time. In mild conditions efficiency loss is small; under high load or during recovery it can be material. Scheduling quiet windows is a better approach than leaving quiet mode permanently enabled.
Why is my heat pump loudest during defrost even in quiet mode?
Defrost changes the refrigeration cycle and often uses different fan/compressor control logic. Some units temporarily suspend quiet mode during active defrost or use a different modulation profile for recovery, producing transient sounds. Eliminating defrost‑related noise usually requires control logic changes or a service‑level firmware update rather than acoustic fixes alone.
Can I add a sound blanket to the outdoor unit?
No. Aftermarket blankets and wraps commonly restrict airflow, trap heat, and can void warranties or damage components. Use engineered acoustic screens or OEM‑approved accessories that maintain specified clearances and airflow.
How much quieter should I expect quiet mode to be?
Expect modest reductions: in real installations quiet mode commonly reduces measured sound at the unit by roughly 2–8 dB and at the property line by 1–4 dB, depending on model, placement and weather. The only reliable way to know for your site is a controlled before/after measurement under similar conditions.
When should I call a technician instead of adjusting settings?
Call a licensed technician for grinding, scraping, sudden new noises, persistent rattles, or if quiet mode causes significant comfort loss or increased defrost issues. Those are signs of mechanical or control problems that need professional diagnosis.
Closing note: In 2026 quiet mode is one tool among several: modern firmware, delivery‑grade acoustic screens, thoughtful placement, and measured control strategies together produce repeatable results. Start with diagnosis, fix mechanical and airflow problems first, then let quiet mode and scheduling be the refinement that turns a good installation into a truly quiet one.